PCuikit - Add Product Tags
Article Index
- PCuikit
- How to install
- Getting Started
- Custom Product
- Custom Categories
- Custom Products
- Phoca Cart Category View
- Phoca Cart Category Products List
- Product Details View
- Add Product Tags
- Add Related Products
- PCuikit Component
- Custom Elements
- PC Addtocart
- PC Category
- PC Category Grid
- PC Grid
- PC Product
- PC Product Grid
- PC Product Images
- PC Utilities
- PCuikit - One Page Checkout plugin
- PC Reward Points checkout
- PC Order Thank You Page template
- Override PCuikit OPC layouts
- All Pages
Page 10 of 25
Add Product Tags
Using this feature you can integrate tags assigned to the product.
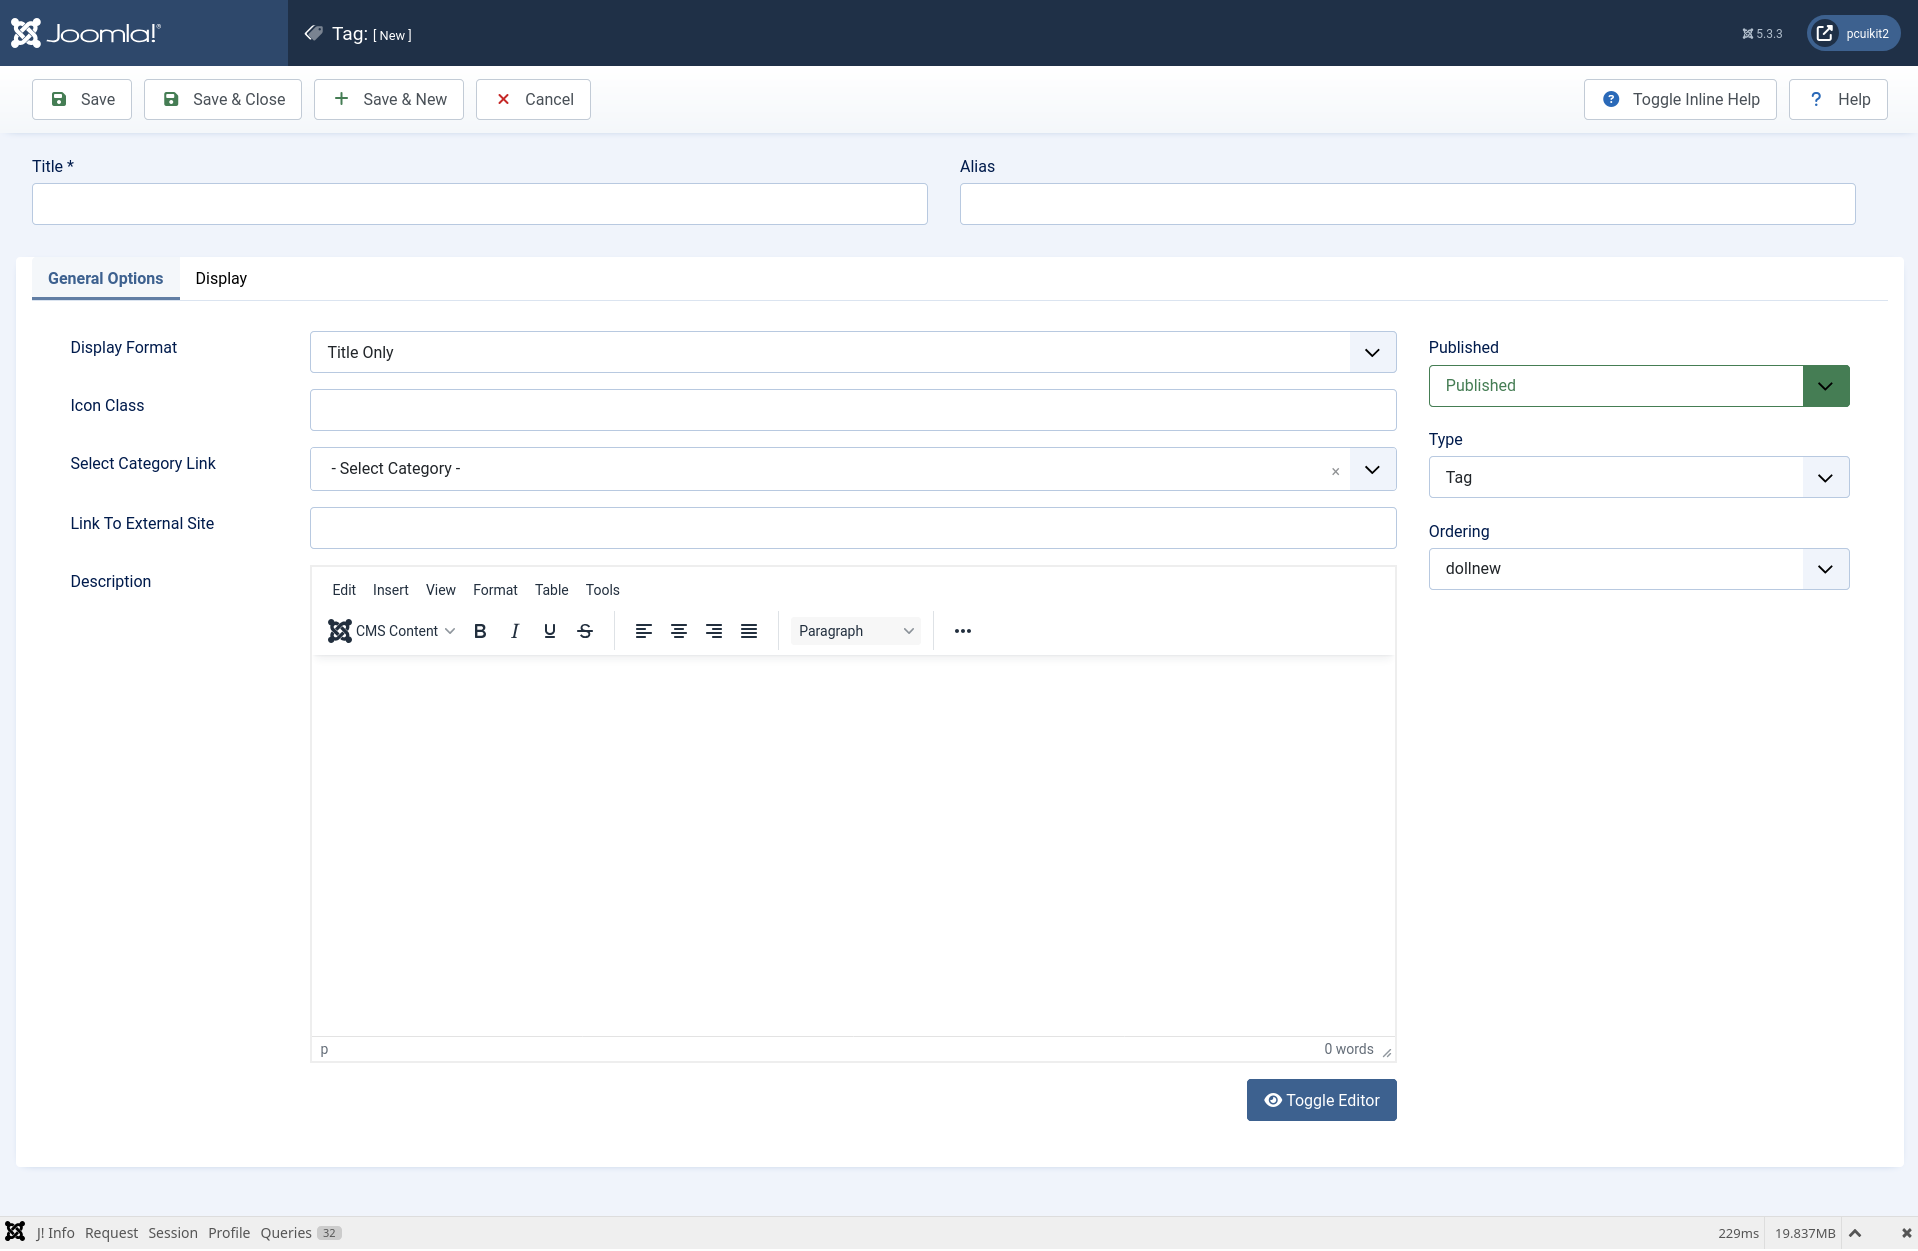
- Initially create the tag in phoca cart:
- Go to "Components -> Phoca cart -> Tags" and press New.
- Fill all the required fields as per your below screenshot.
- Click "Save&Close" to save the settings.
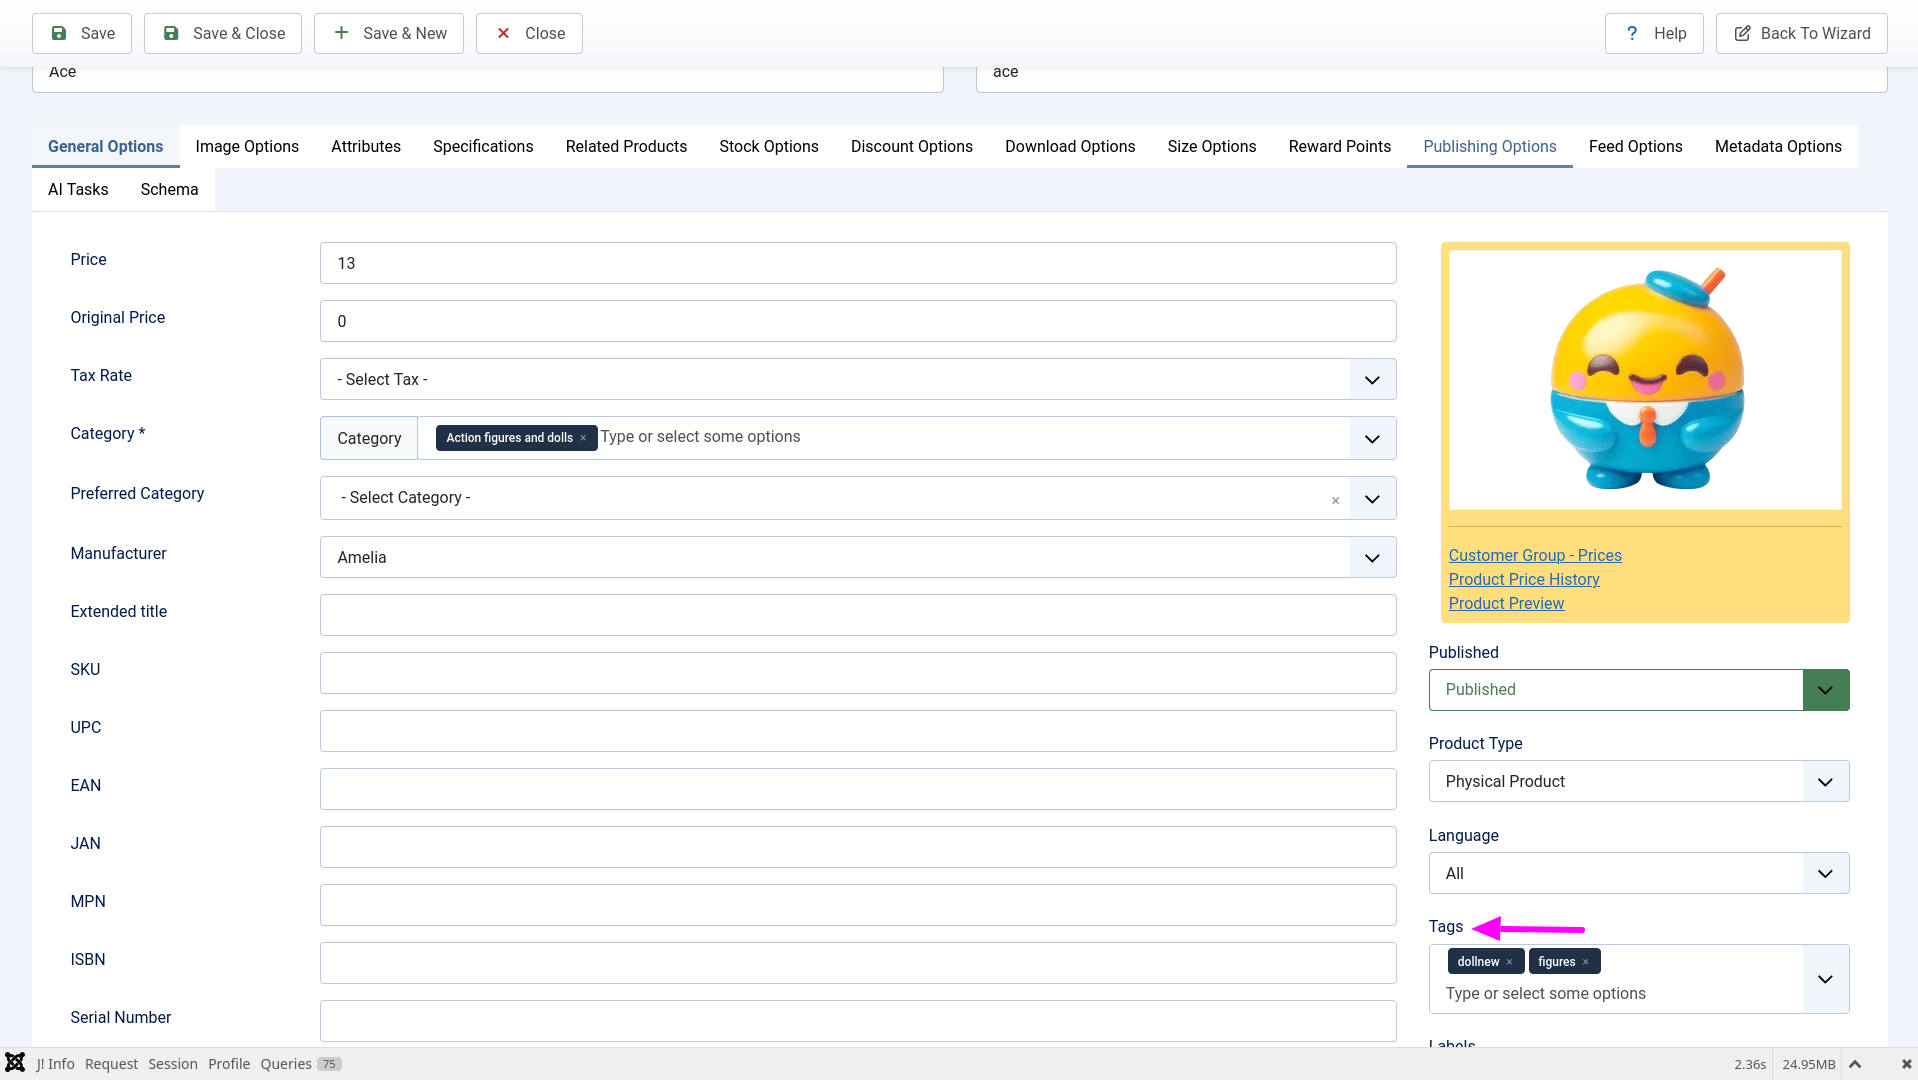
- After creating the tags, let's go to your preferred product .
- Select a prefferred product and go to the Tags field.
- Select from the list of tags or search for related tags and assigned.
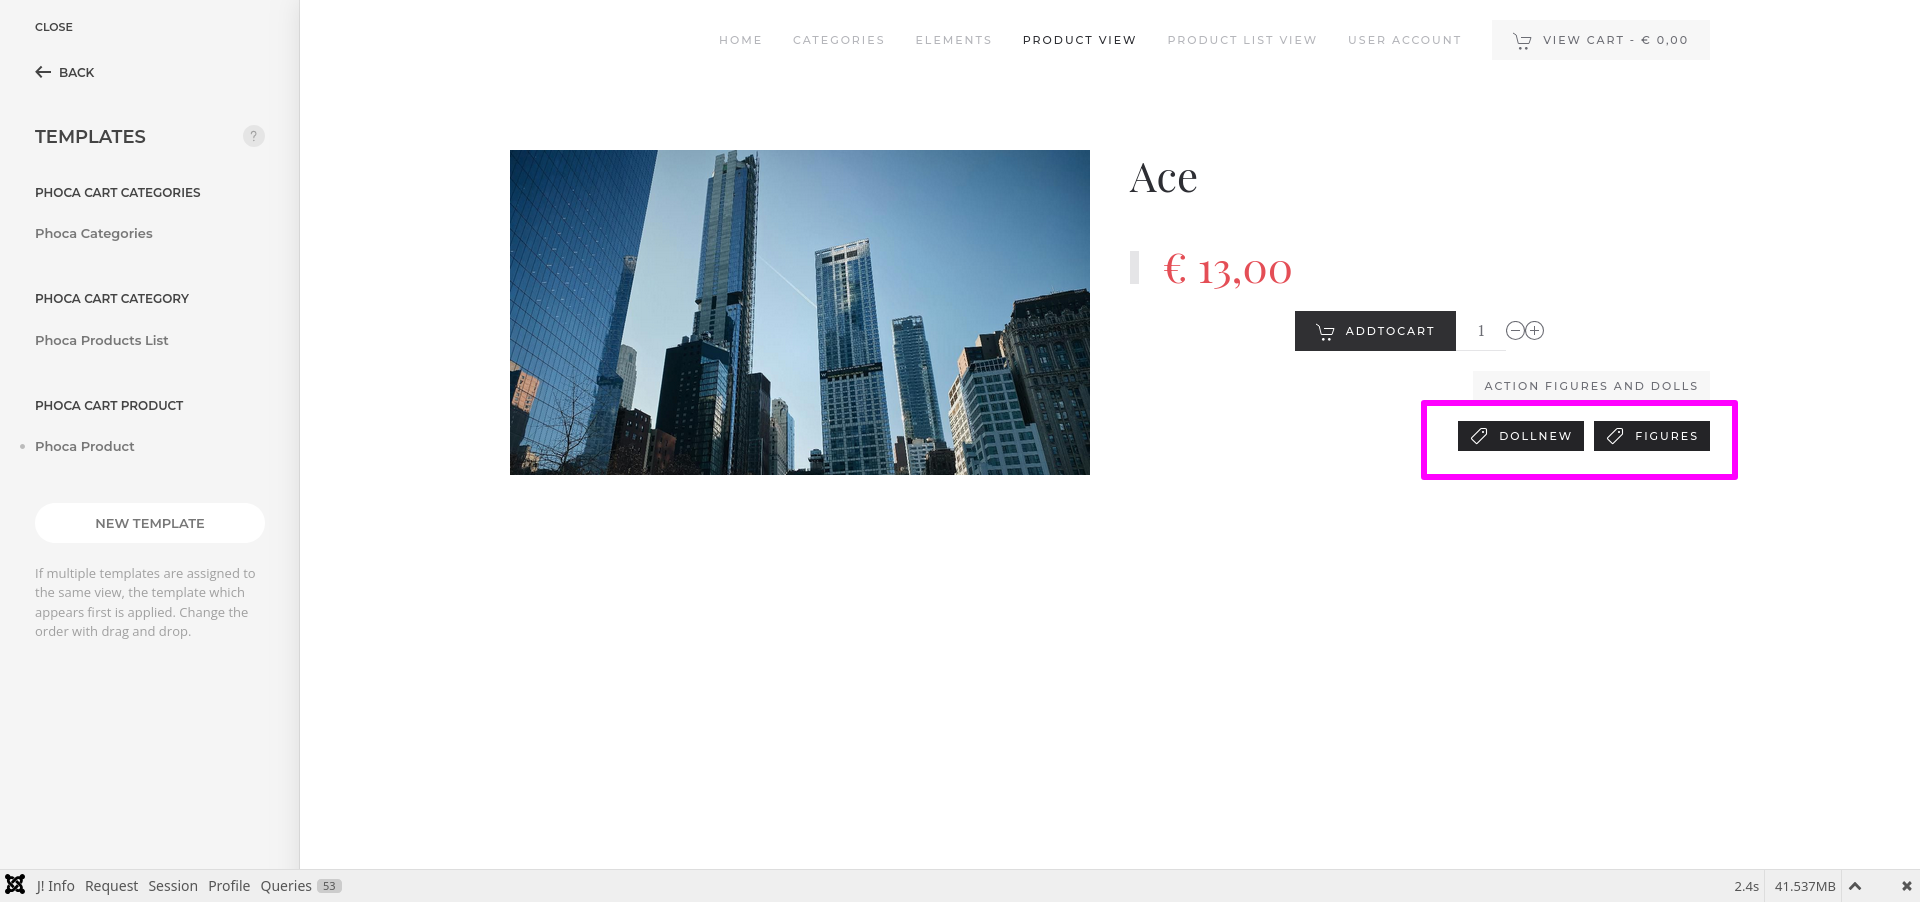
- Open "YOOtheme" website builder inside the Joomla admin and go to the product details page of that product in which products tags are added.
- Click on the Yootheme PRO Website "Builder" and then click "Open Templates".
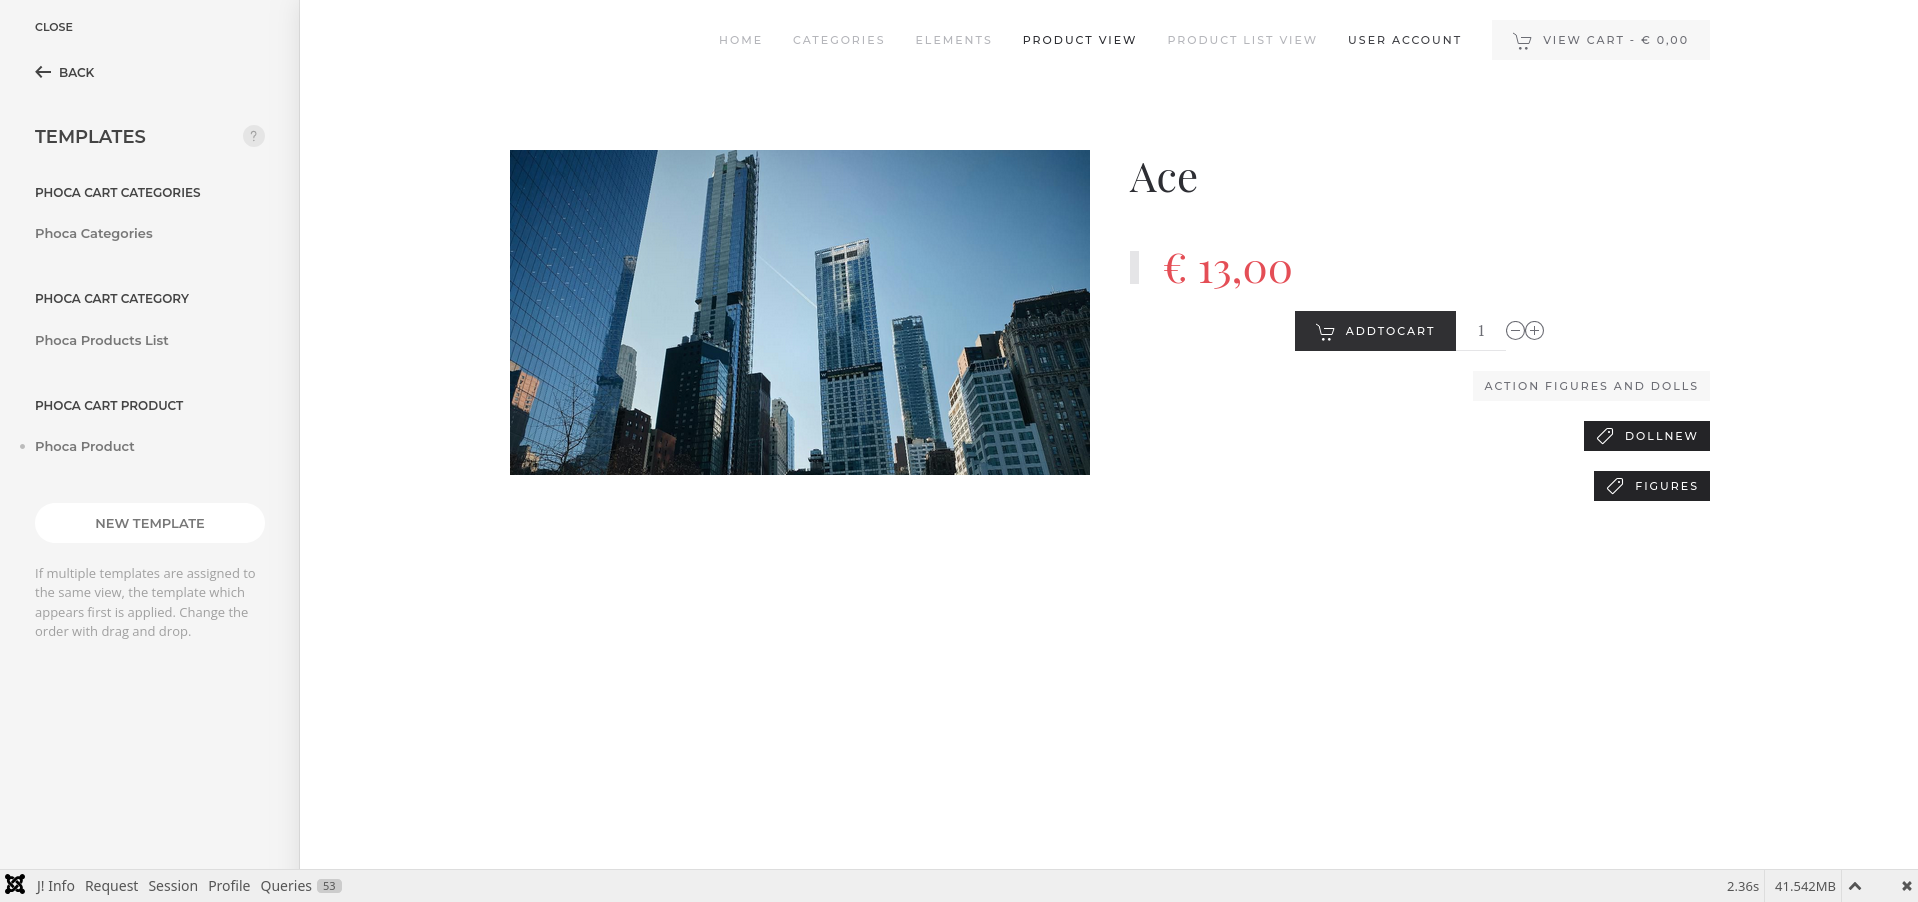
- From the listed templates, click "Phoca Cart Product" of the product details template layout.
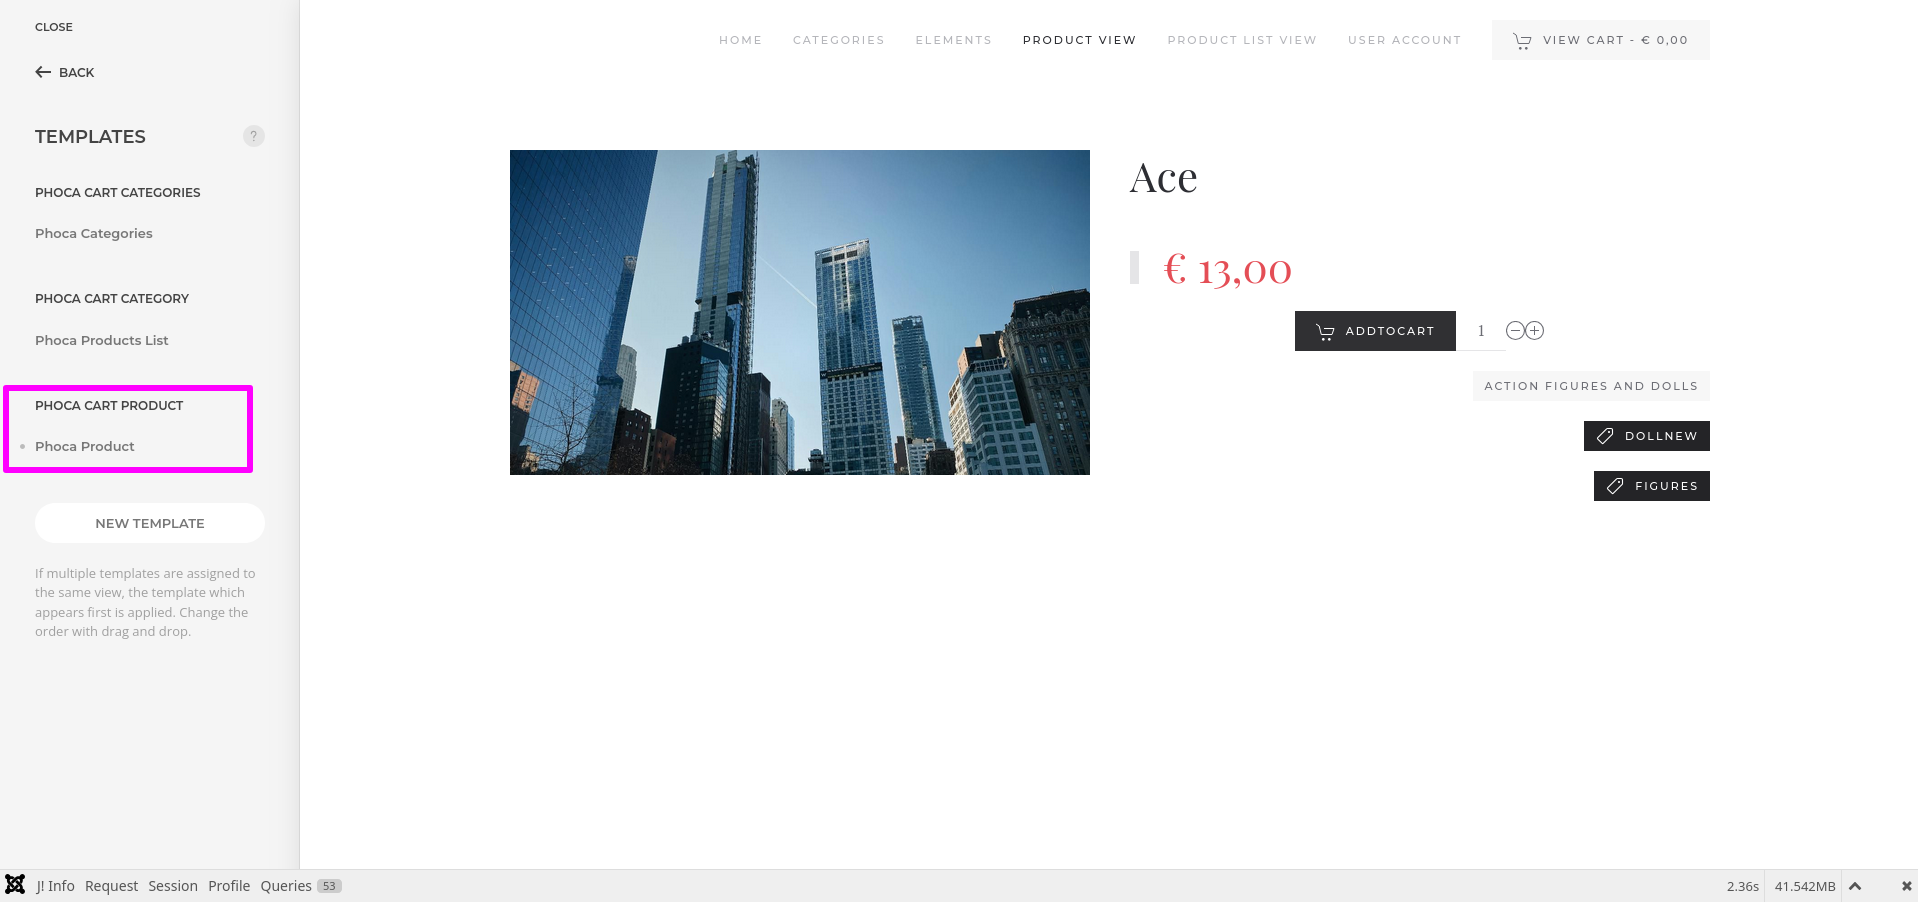
- Here you found the predefined product details template layout using yootheme elements with dynamic content sources.
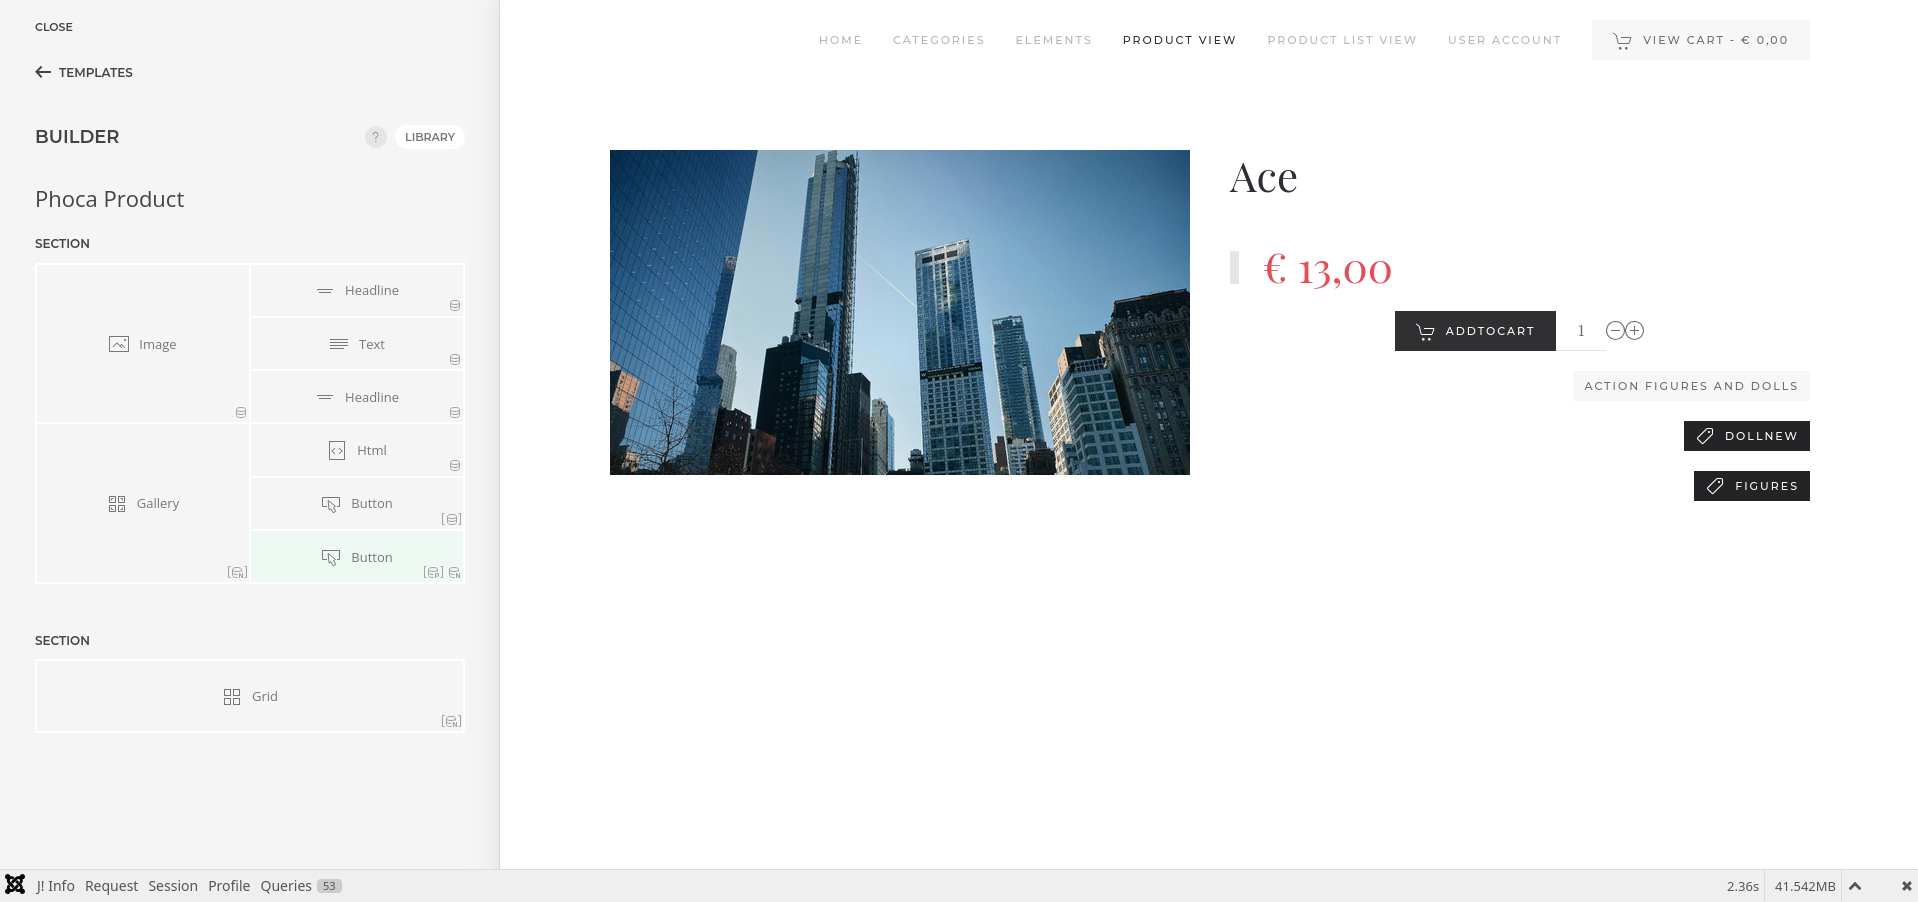
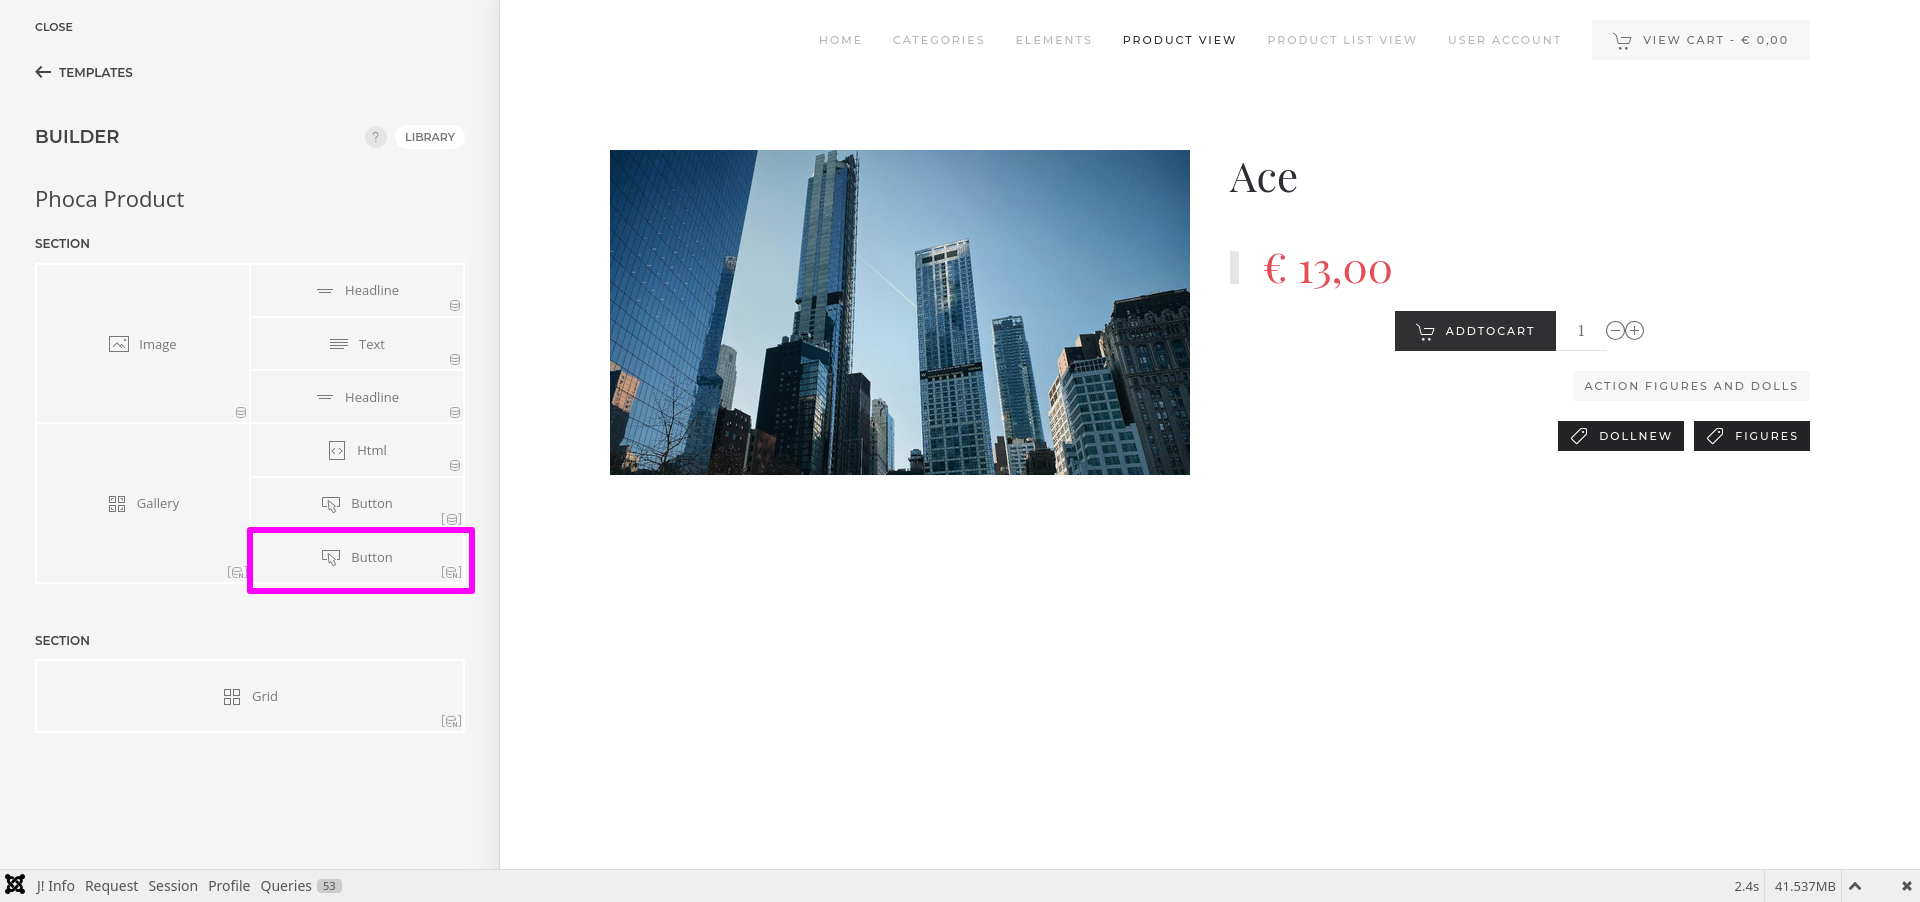
- Then click "Add element" on the builder under which element you want to place "PC Product Tags" .

- Select "Button" element on the builder and add it into the product details page .
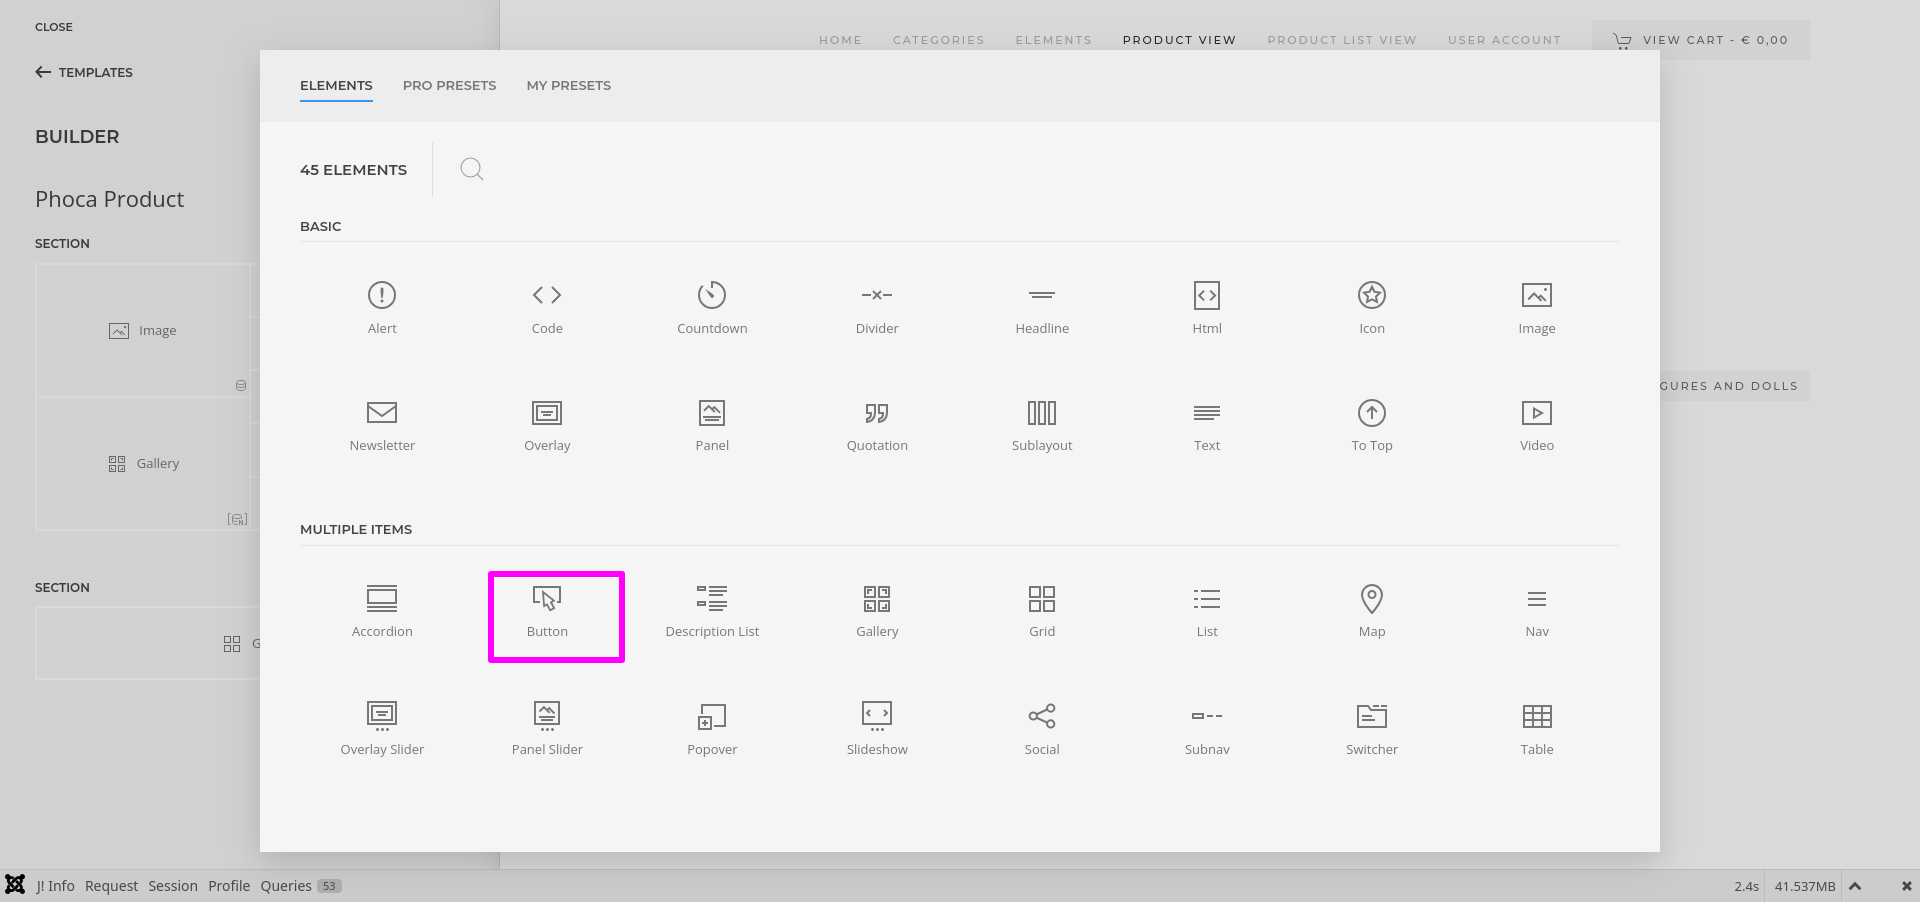
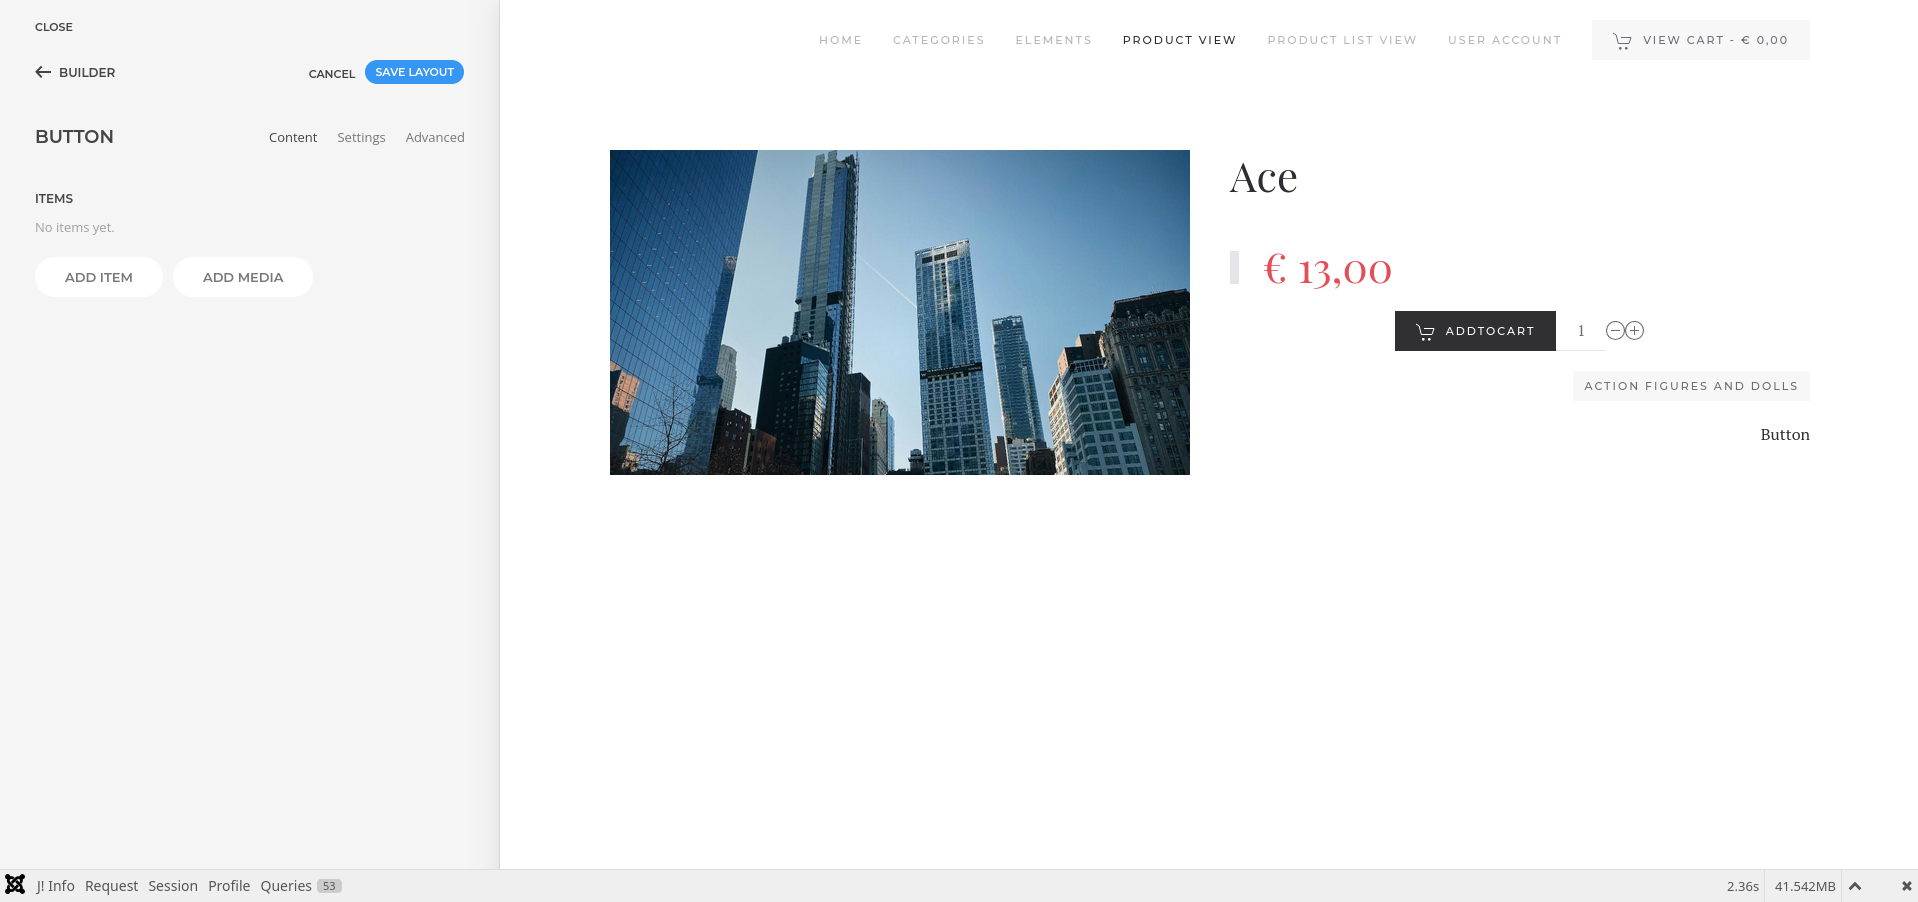
- Click on the "Button" element to configure new item.
- Then click "ADD ITEM" to add the new item to the element.
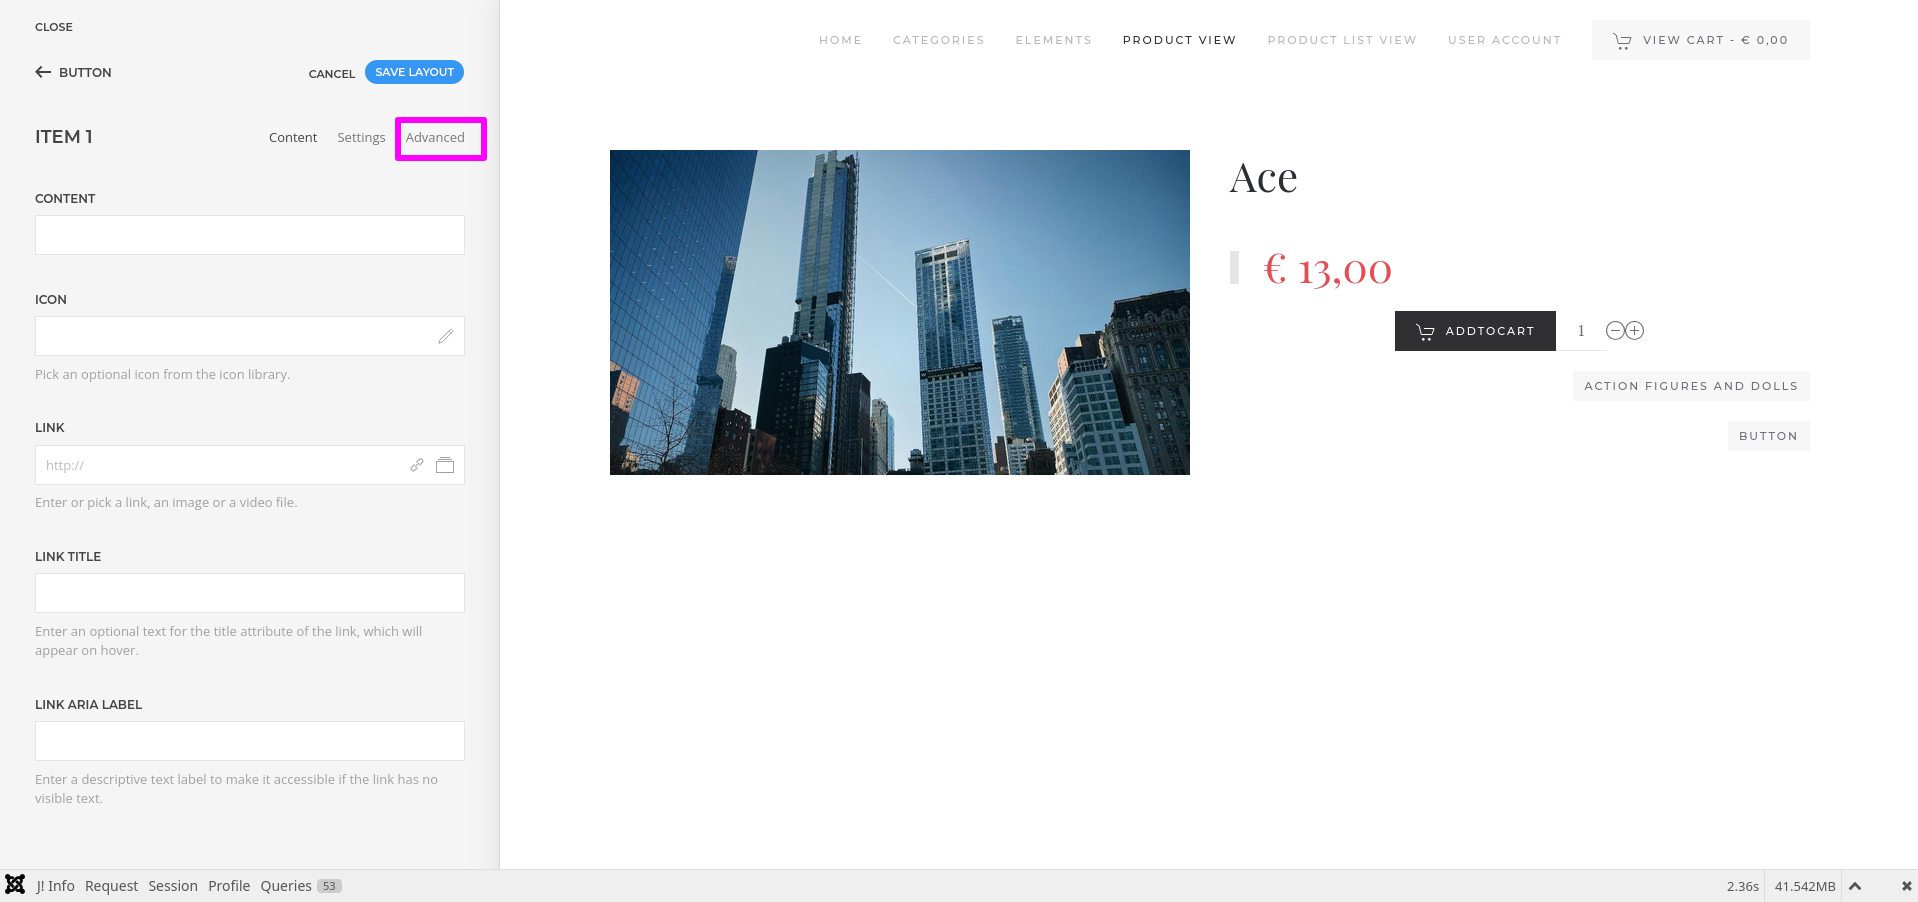
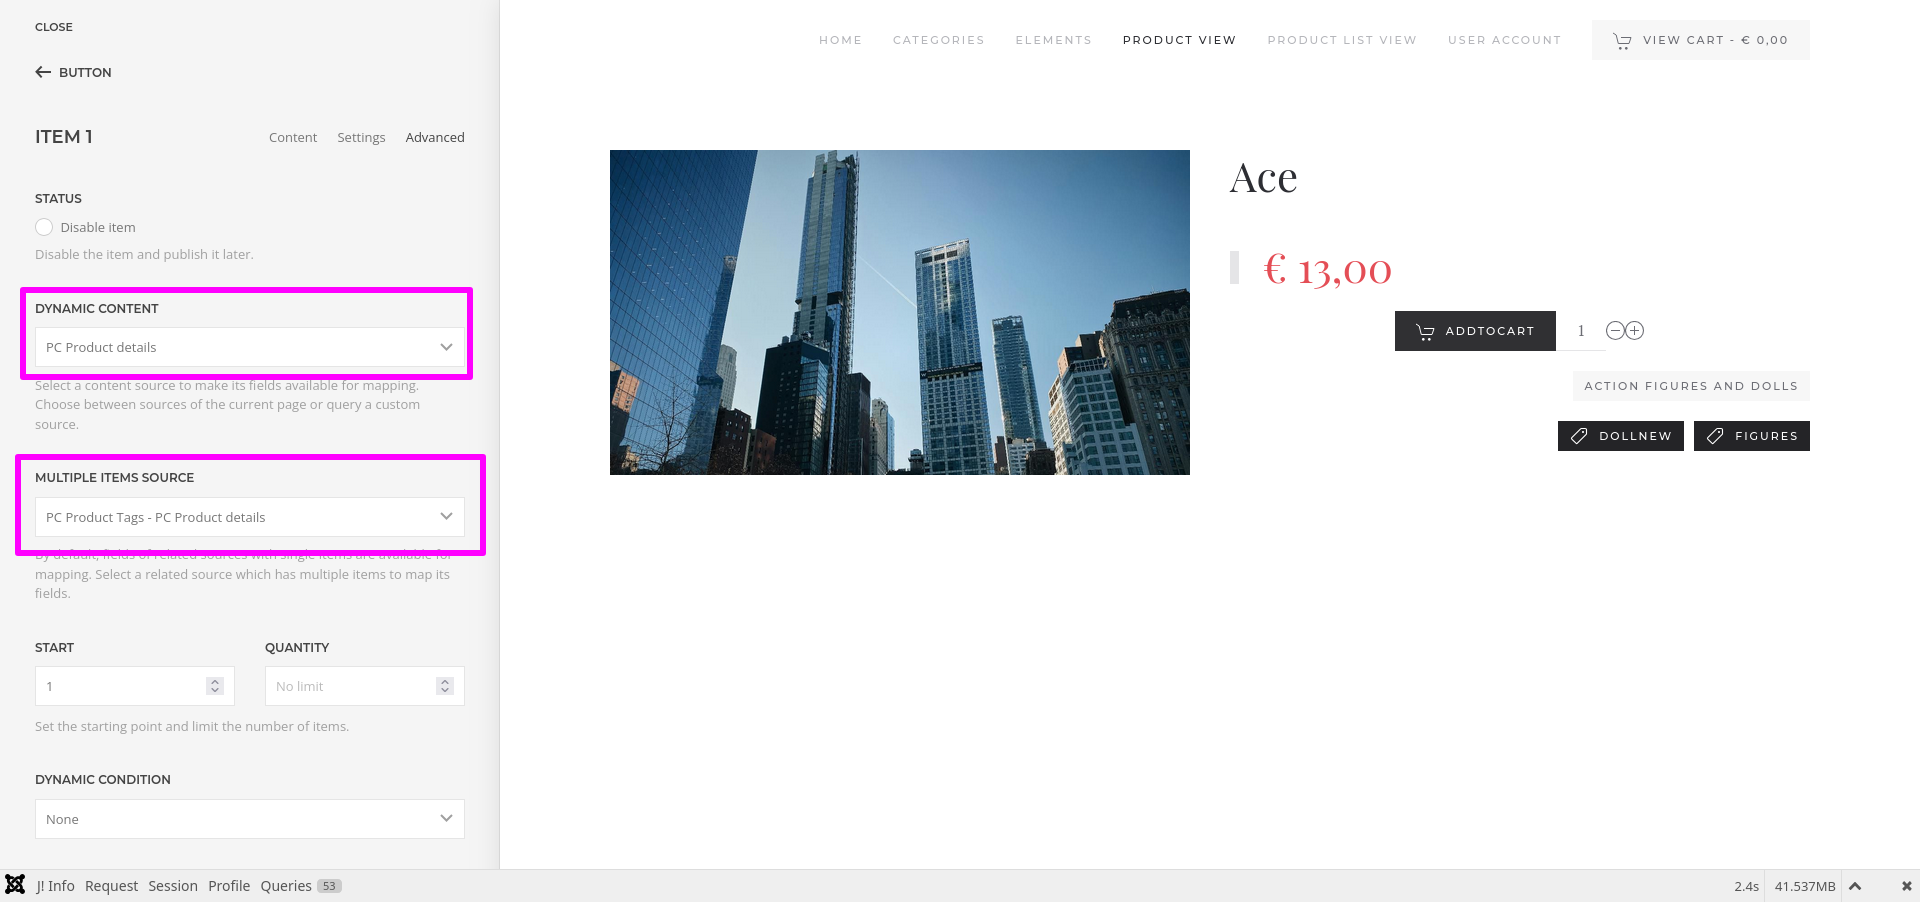
- Click "Advanced" menu in the new item, then select the option "PC Product Details" from "DYNAMIC CONTENT" and "PC Product Tags" from "MULTIPLE ITEMS SOURCE".
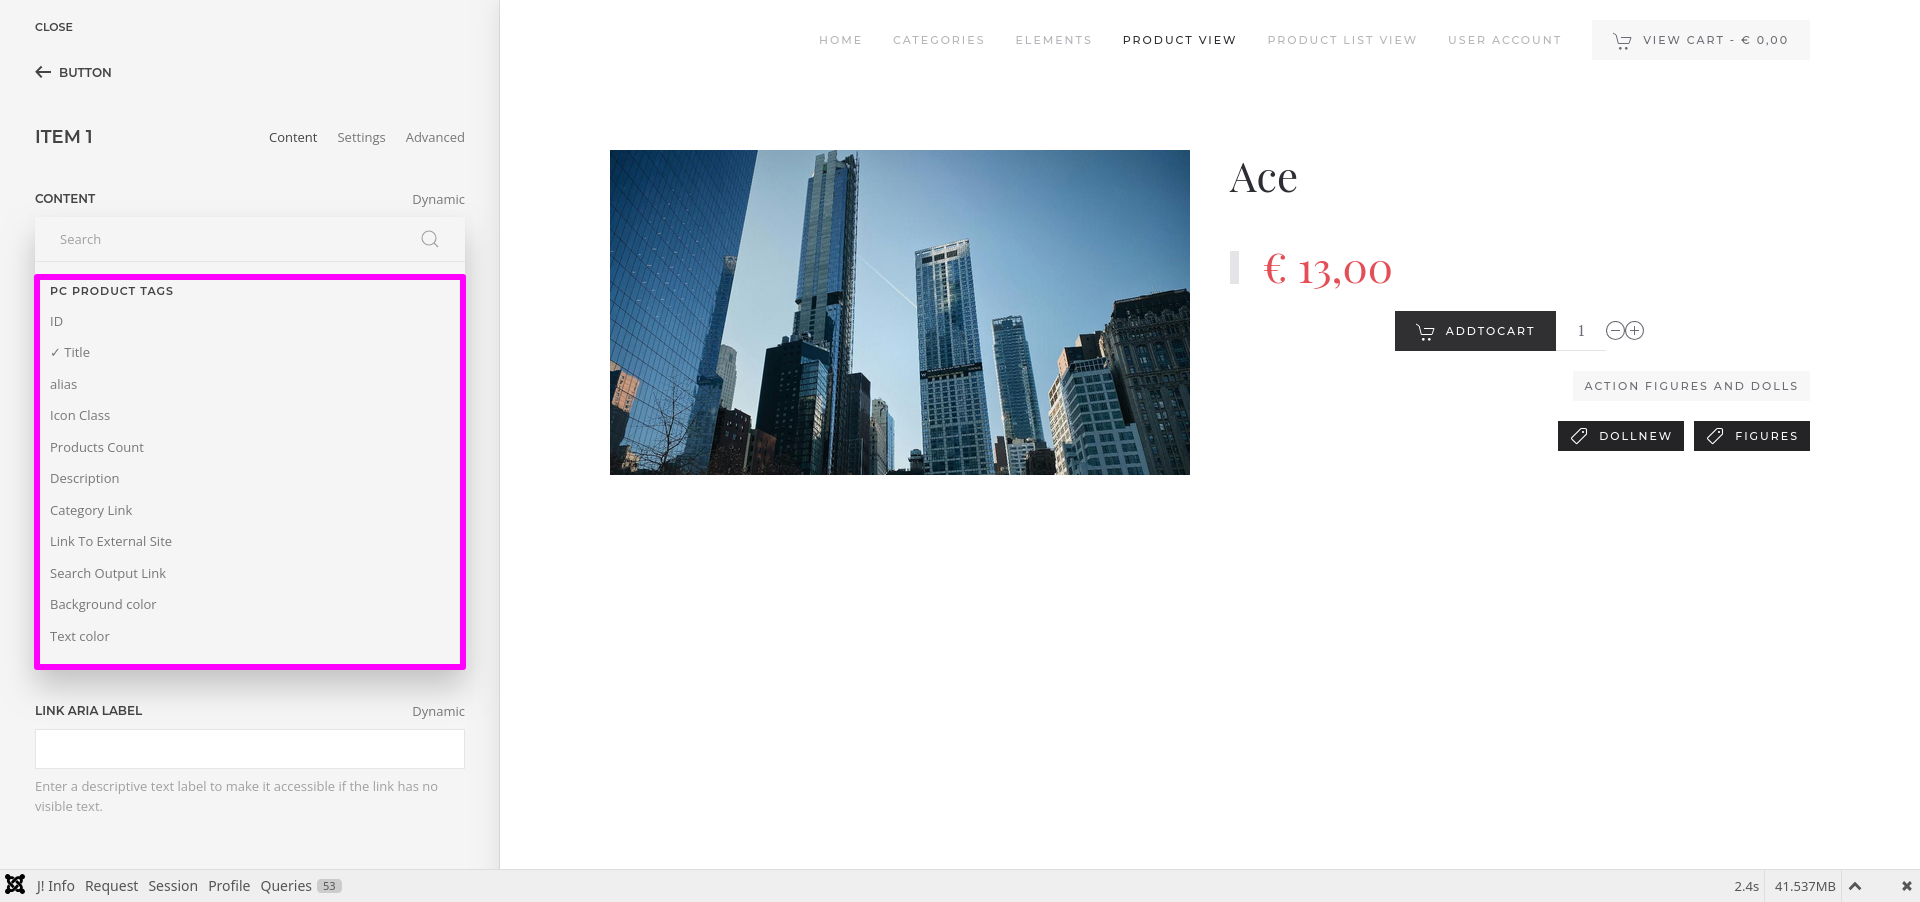
- Once a content source is selected, its fields are available for mapping.
- To map a content field to an element's field, open the Content tab of an element. Each element field shows a Dynamic button on the right which opens a dropdown with a list of all available content fields.
- Once finished all the settings for the element , Click "Save layout" and "Close" the website builder.